







The Toyota Tacoma is a versatile and rugged truck that has gained a loyal following among off-road enthusiasts and daily drivers alike. One popular modification among Tacoma owners is the installation of Raptor lights, which not only enhance the vehicle’s aesthetic appeal but also improve visibility during nighttime or off-road adventures. In this guide, we’ll walk you through the process of installing Raptor lights on your Tacoma, ensuring you have all the information you need to complete the job successfully.
What Are Raptor Lights?
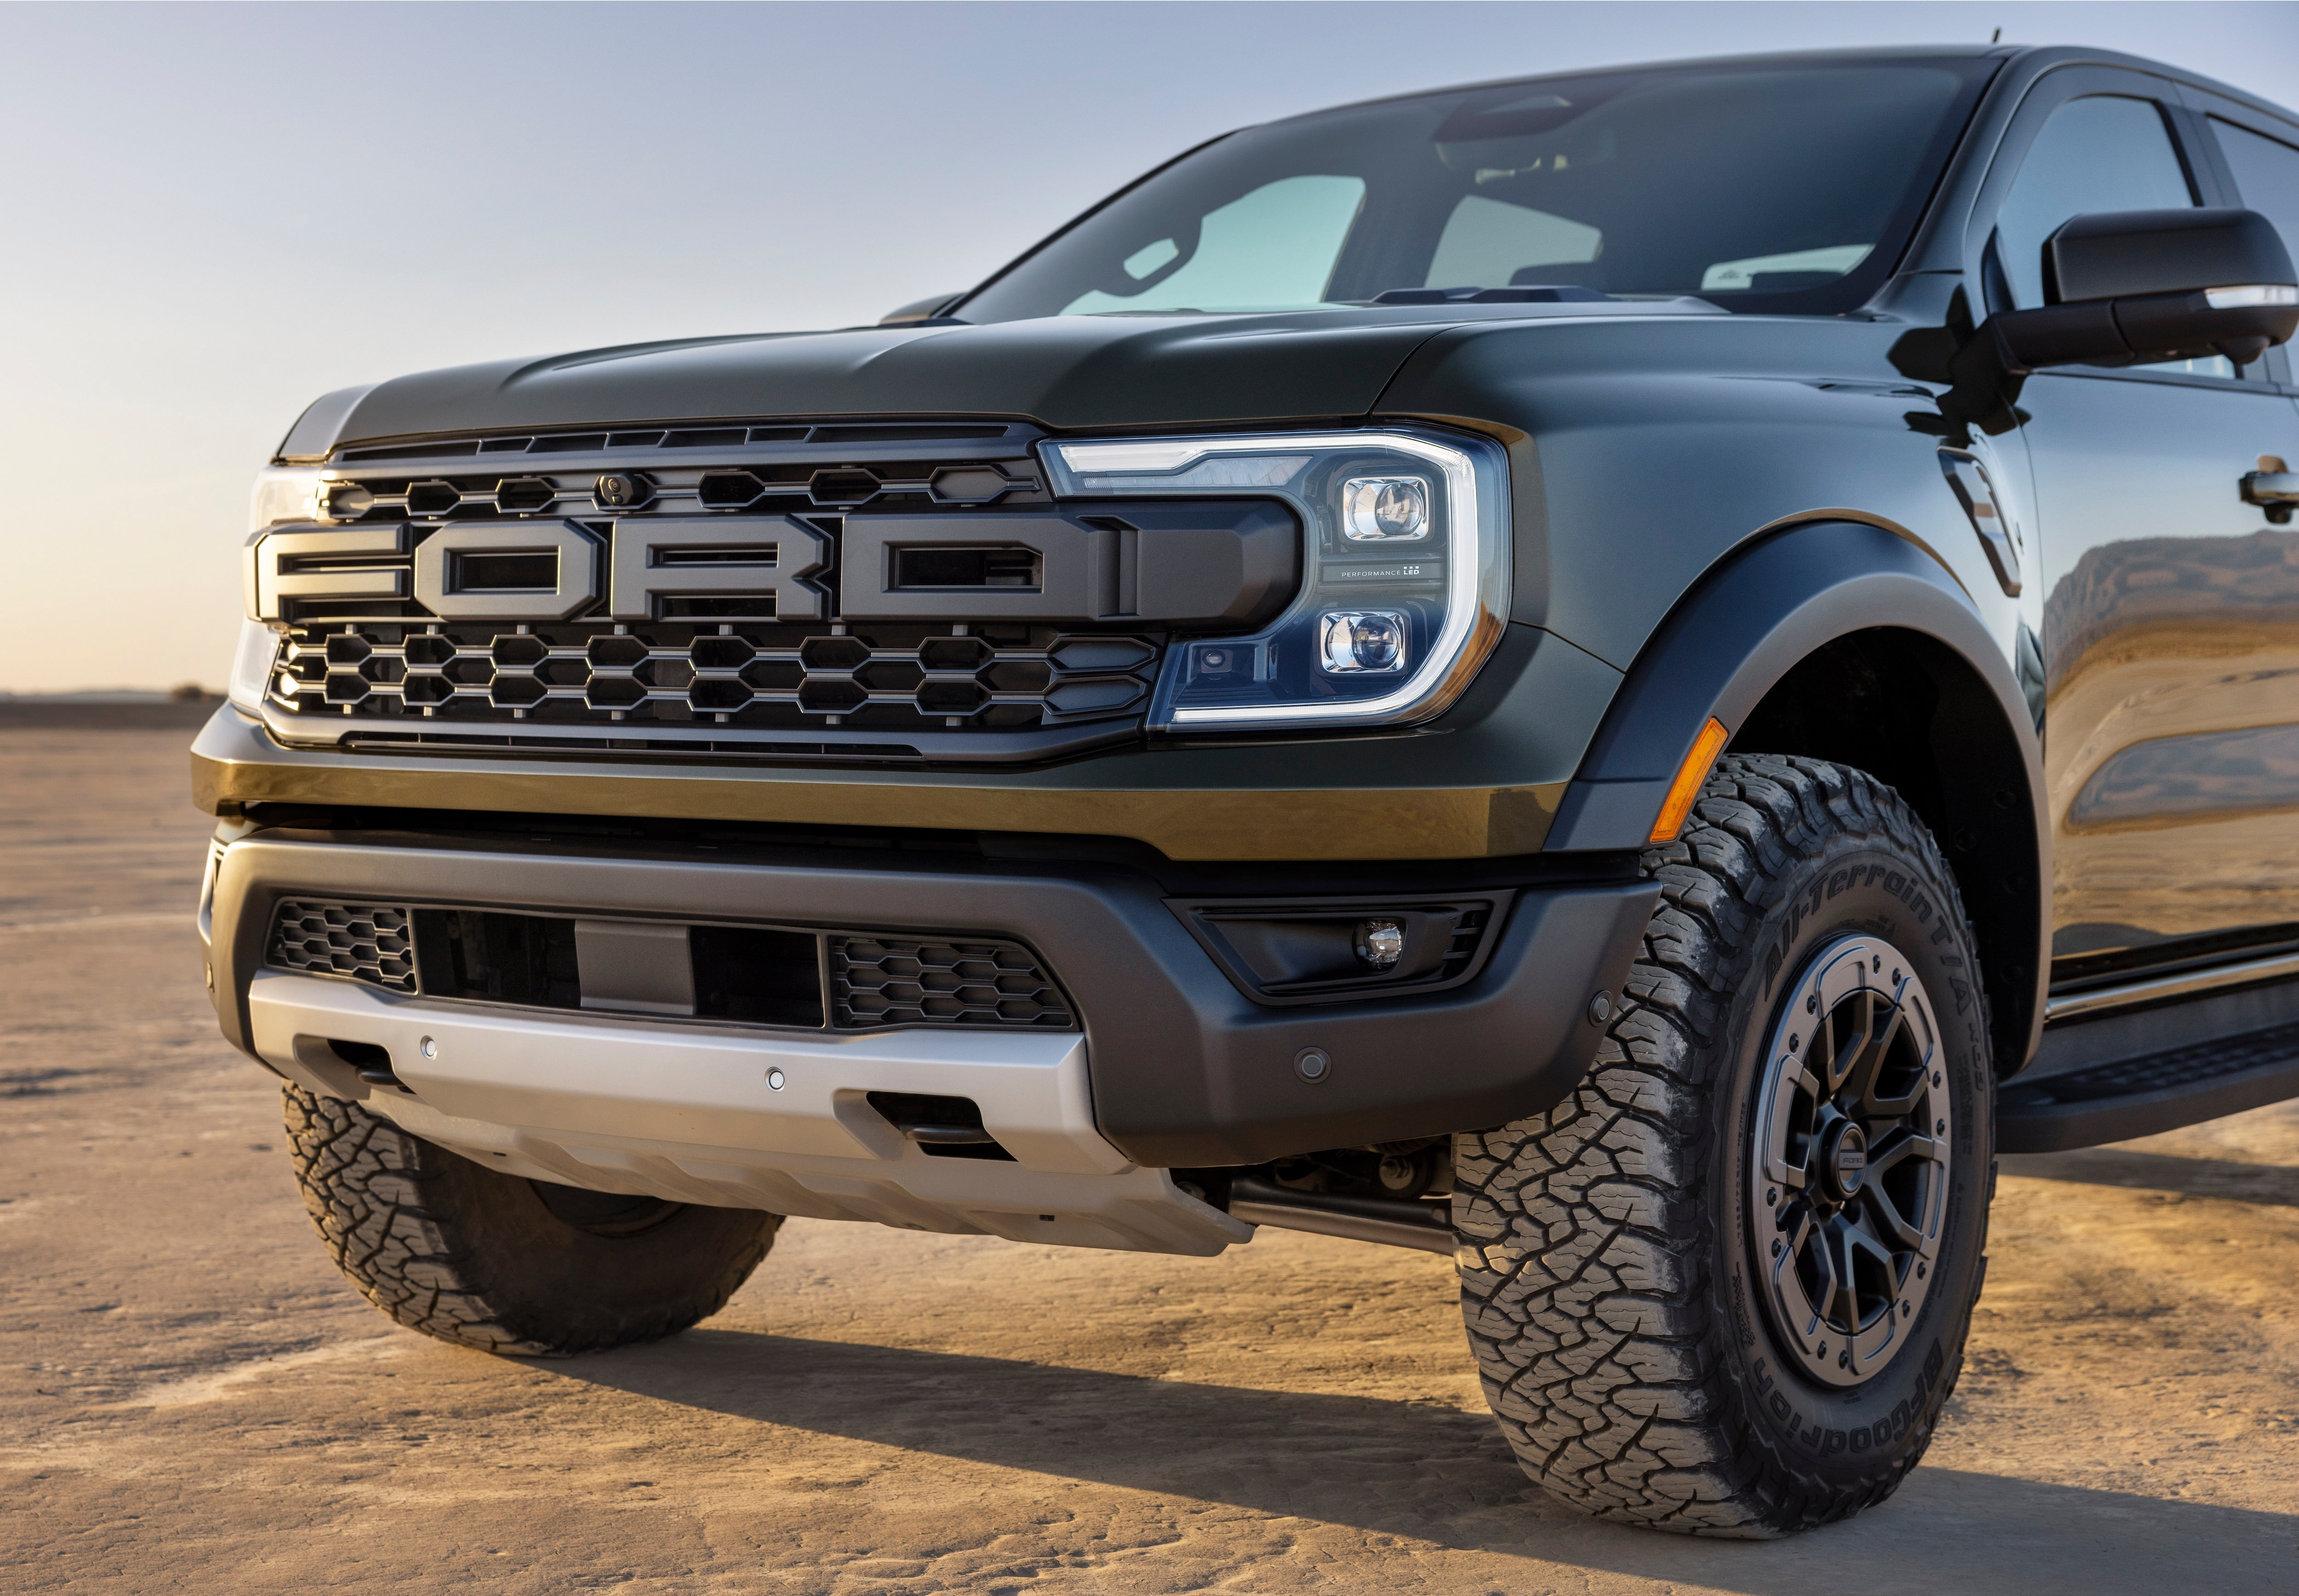
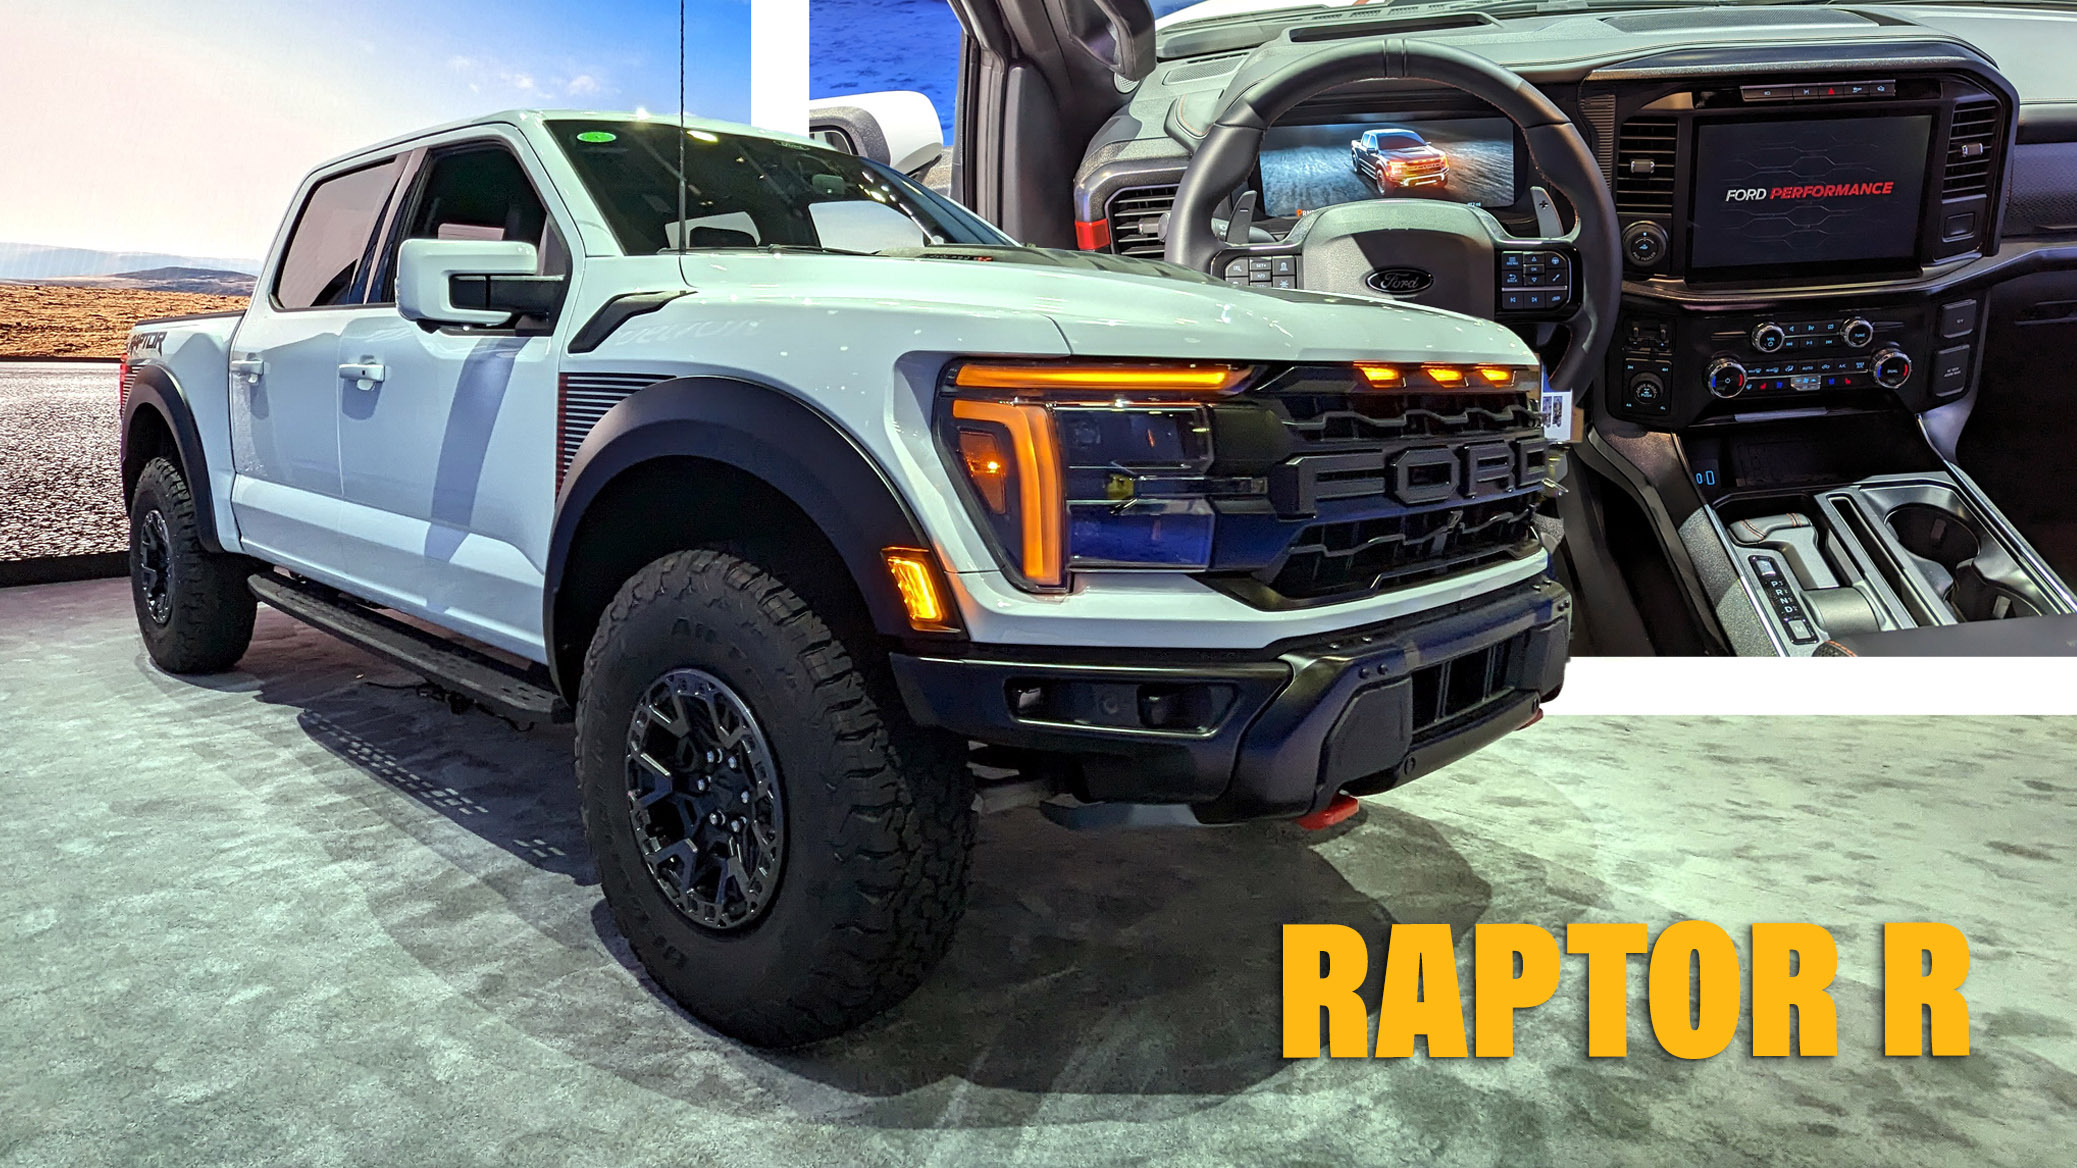
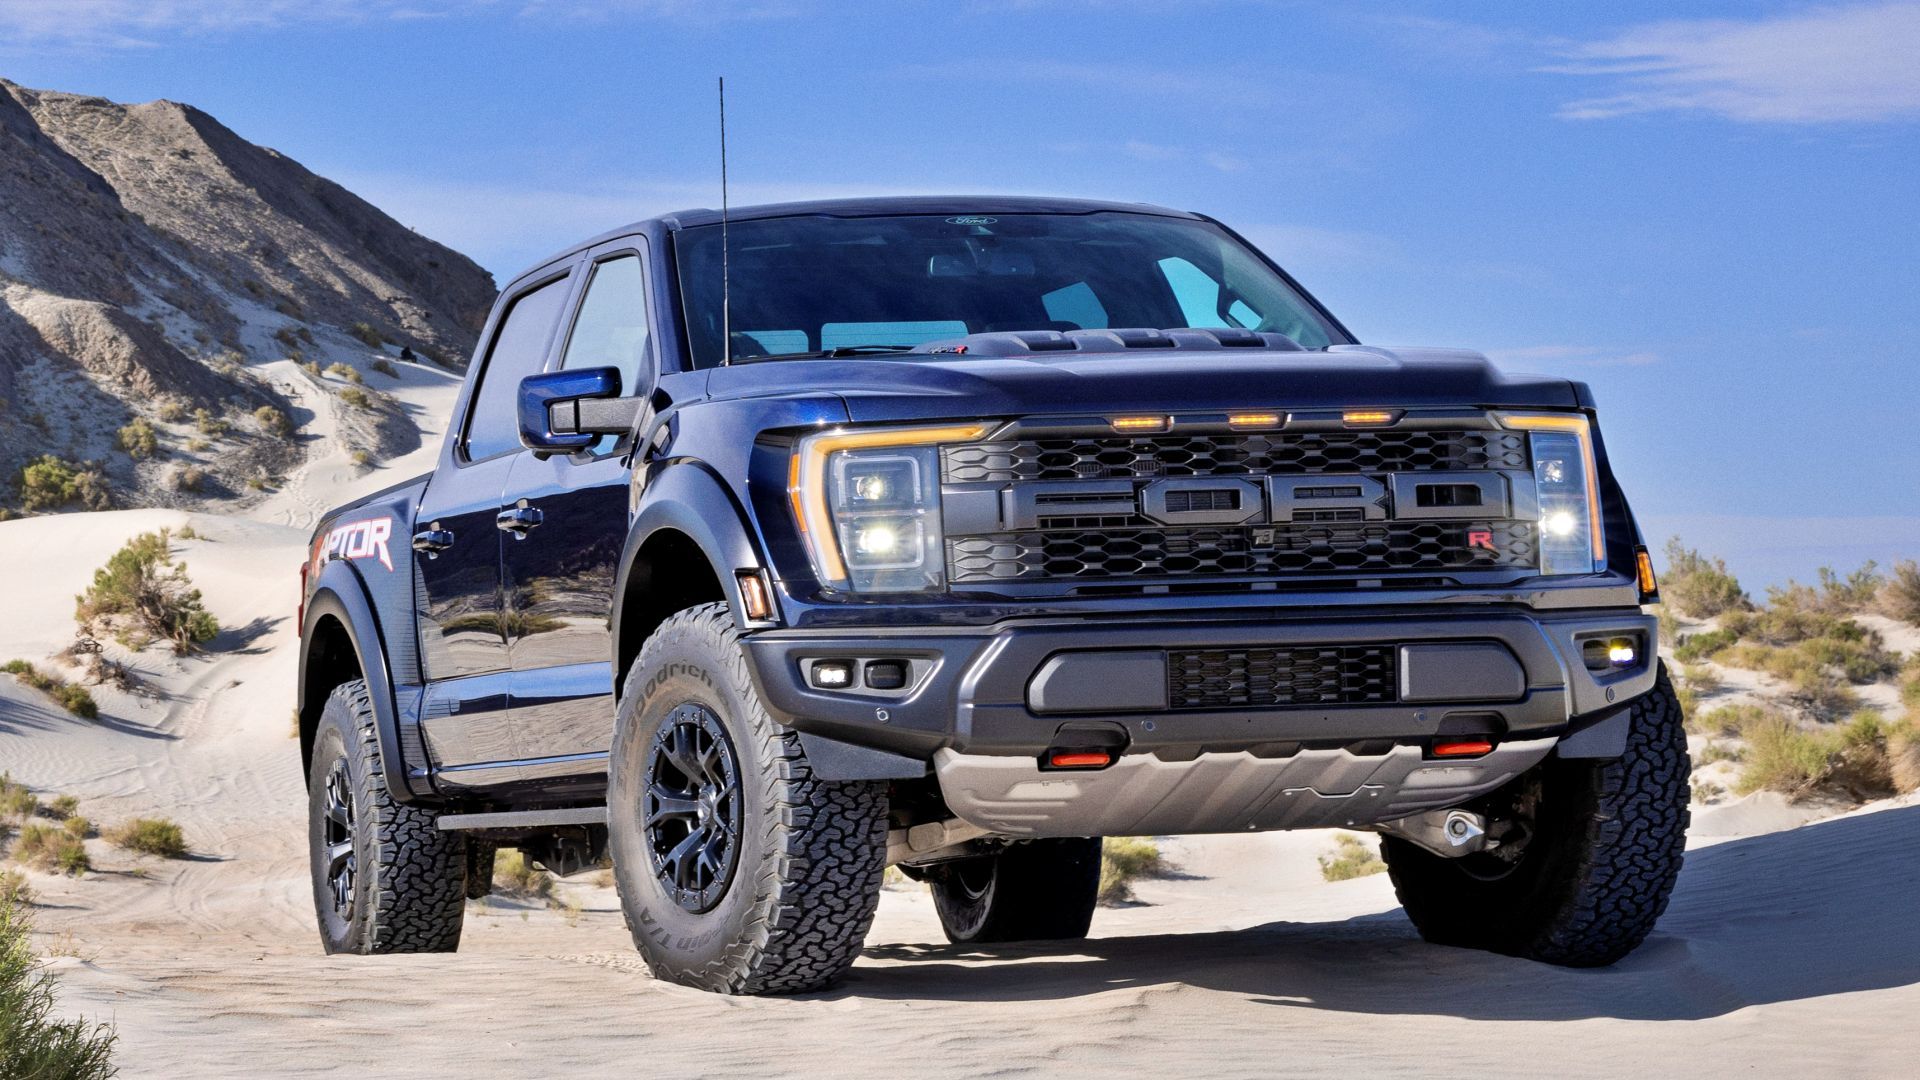
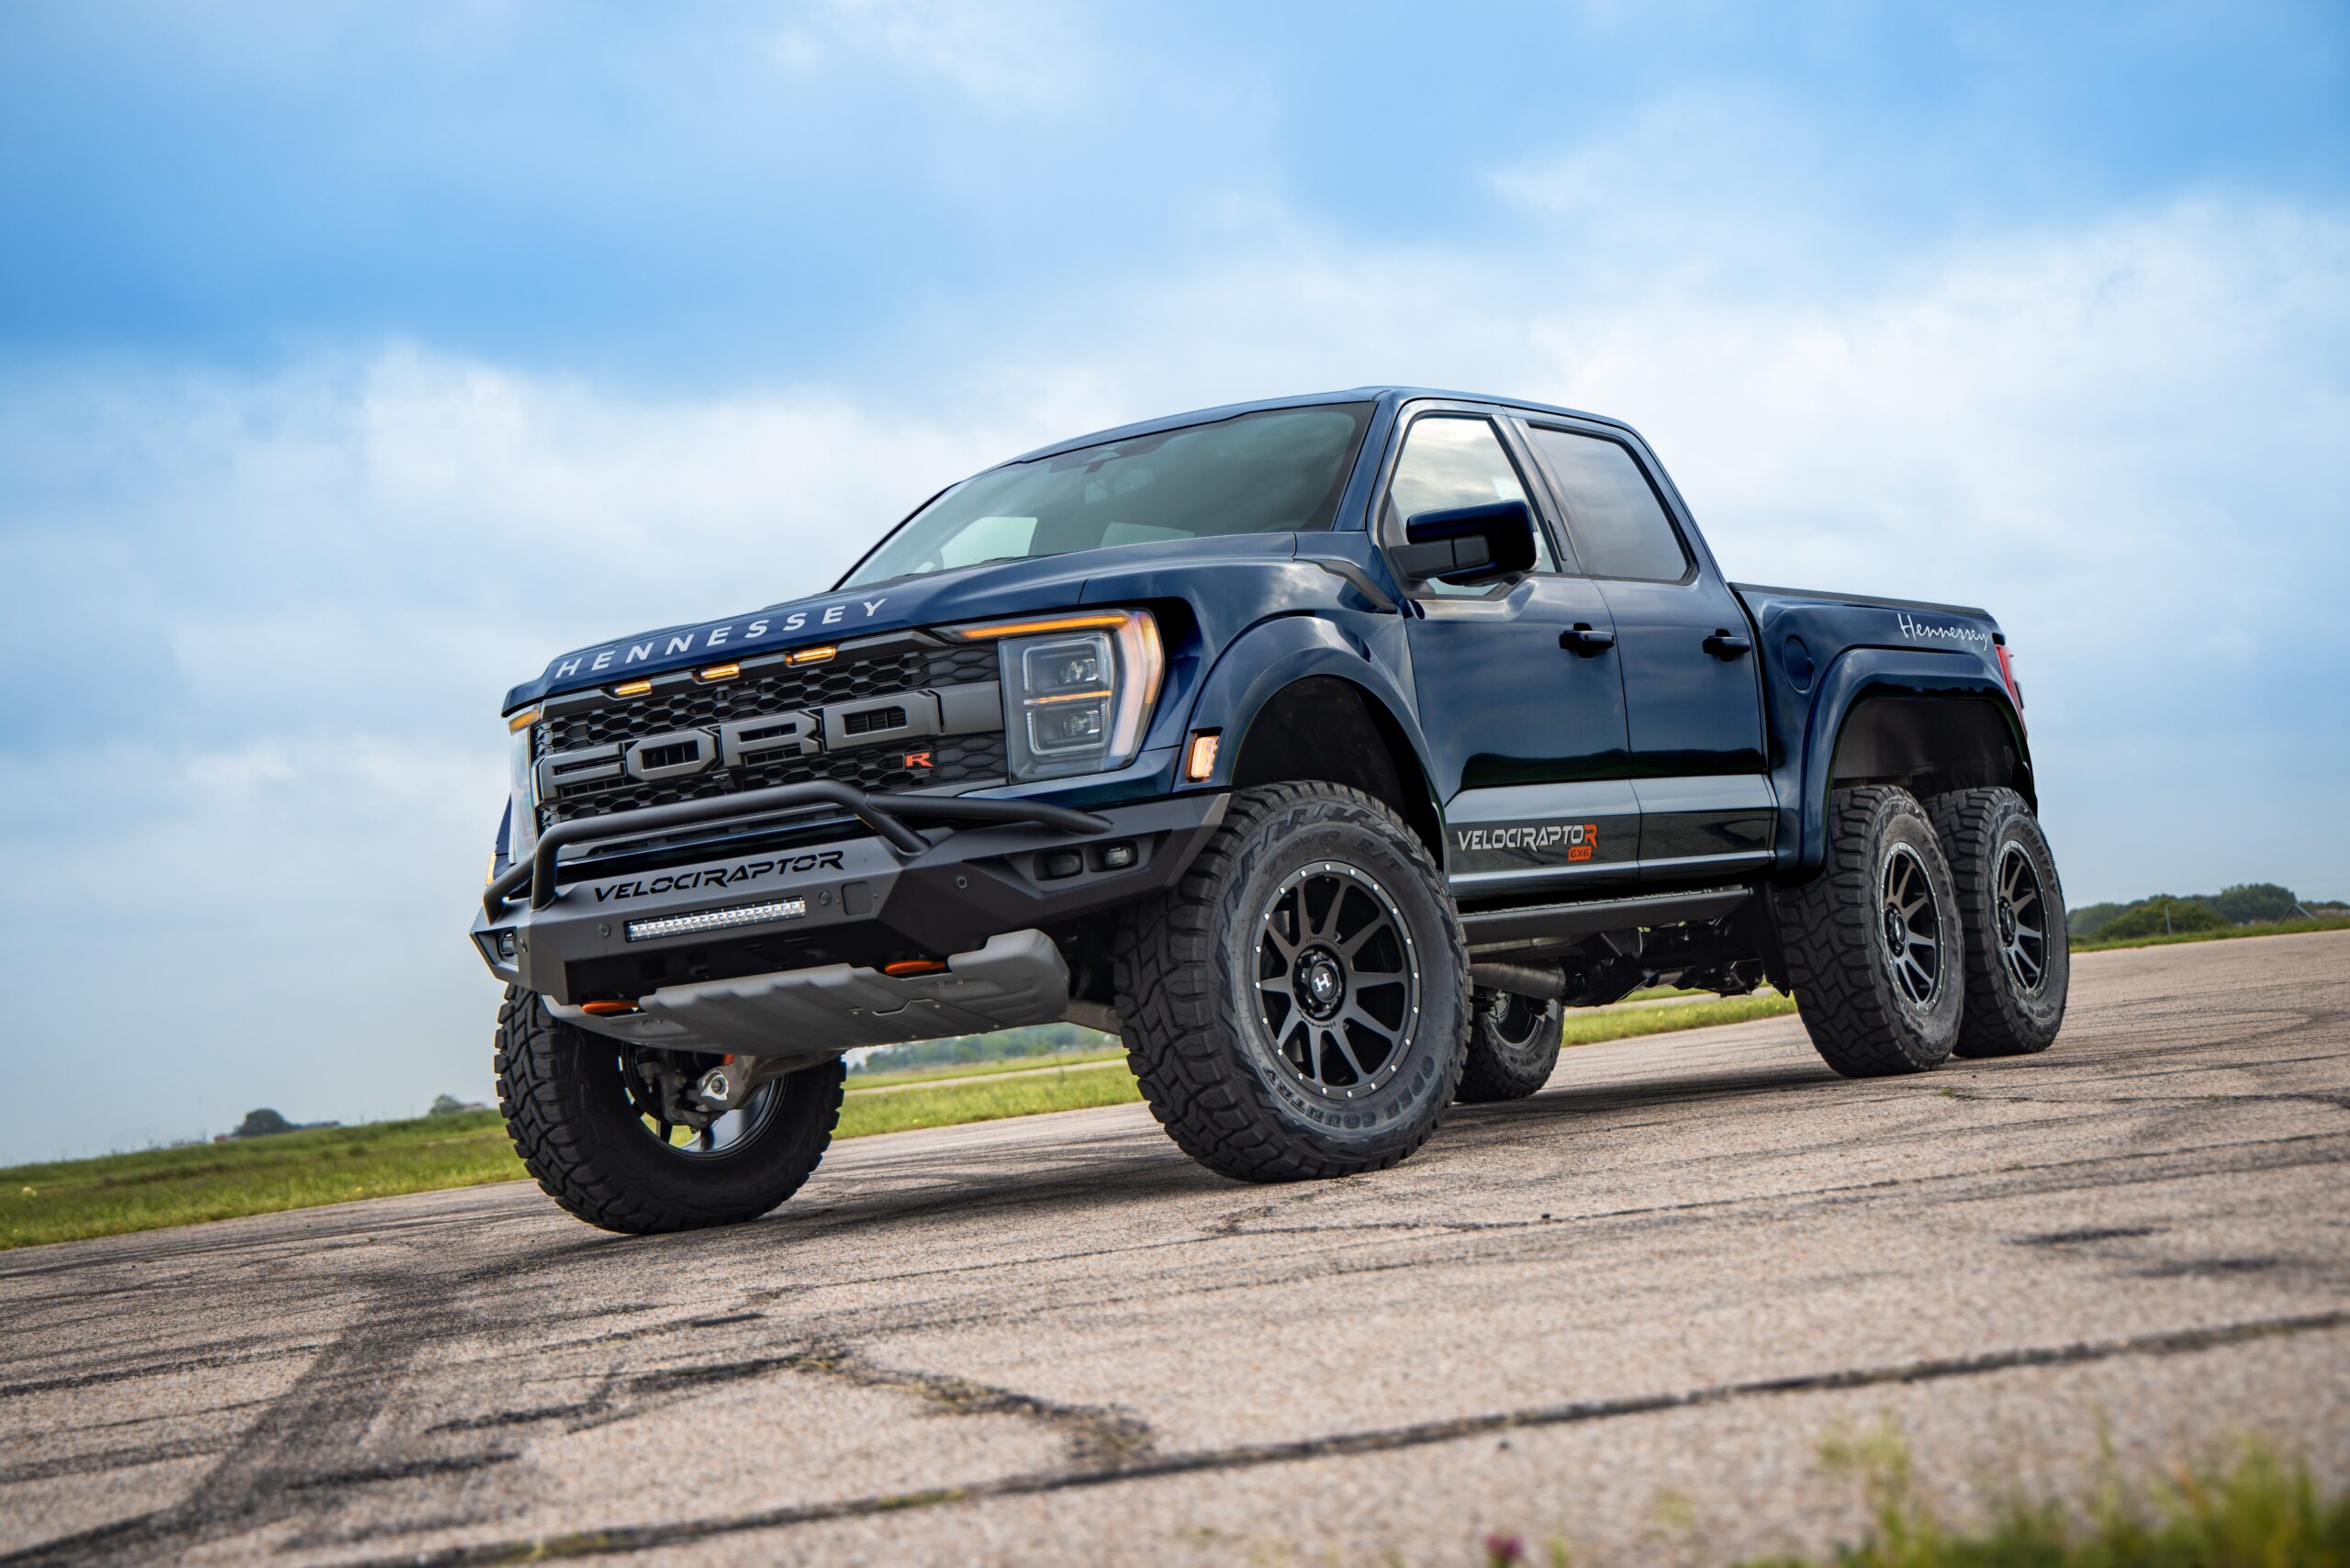
Raptor lights, often referred to as “LED light bars” or “off-road lights,” are typically mounted on the front grille of a vehicle. These lights are designed to provide additional illumination when driving in low-light conditions, making them a popular choice for off-road enthusiasts. They come in various sizes and brightness levels, allowing owners to choose the best option for their specific needs.
Why Install Raptor Lights on Your Tacoma?
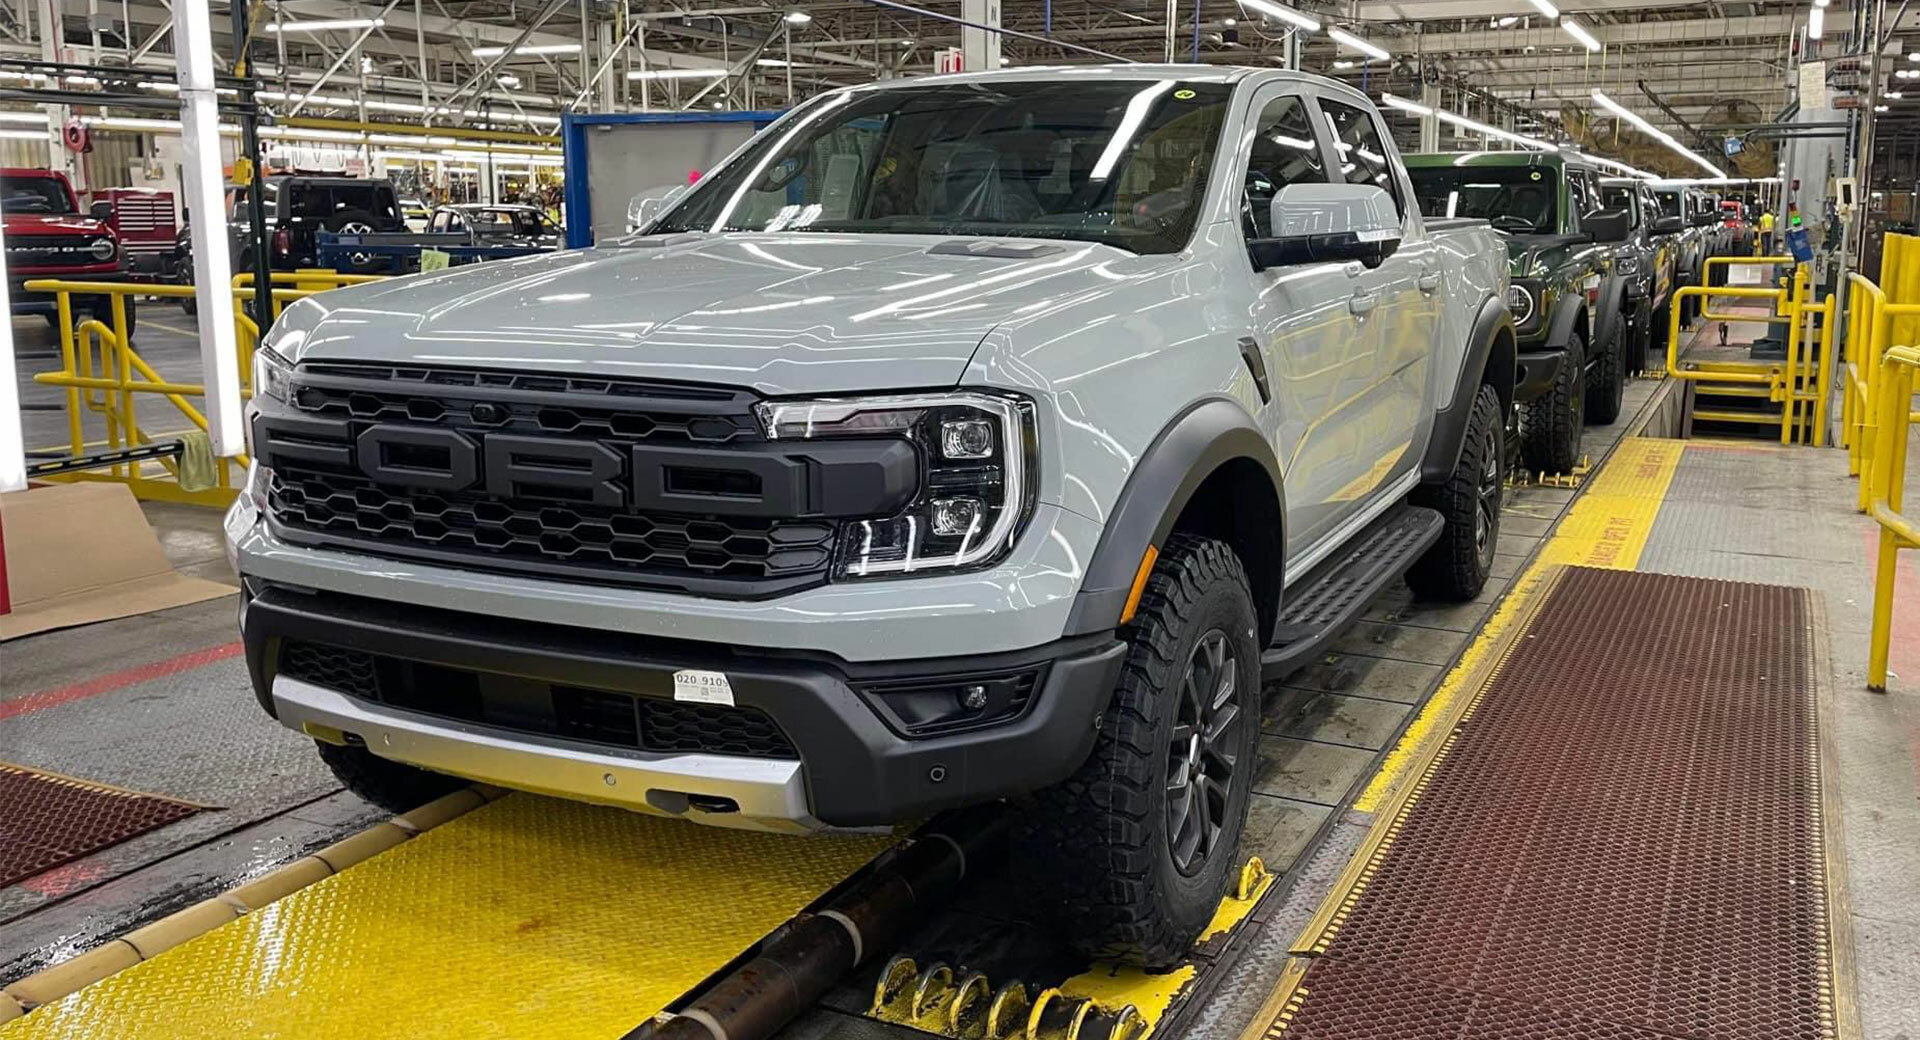
- Improved Visibility: Raptor lights provide brighter and wider illumination compared to standard headlights, making it easier to see the road and any obstacles ahead.
- Enhanced Aesthetics: Adding Raptor lights gives your Tacoma a rugged and aggressive look, setting it apart from other vehicles on the road.
- Increased Safety: Better visibility reduces the risk of accidents during nighttime or poor weather conditions.
- Customizability: With various designs and colors available, Raptor lights allow for personalized styling of your Tacoma.
Tools and Materials Needed
Before starting the installation process, gather the necessary tools and materials to ensure a smooth workflow. Here’s a list of what you’ll need:
- Raptor lights kit
- Wire connectors
- Electrical tape
- Drill and drill bits
- Screwdriver set
- Wrenches
- Wire strippers
- Multimeter (optional)
- Zip ties
- Safety glasses
Step-by-Step Installation Guide
Step 1: Preparation
Before diving into the installation, make sure to park your Tacoma on a flat surface and disconnect the battery. This will prevent any electrical shorts or accidents while you work. Additionally, read through the instructions that come with your Raptor lights kit for specific guidance related to your product.
Step 2: Mounting the Raptor Lights

1. **Choose the Location:** Most Tacoma owners opt to mount the Raptor lights on the front grille. Determine the best position for your lights, ensuring they are centered and at the right height.
2. **Mark the Drill Points:** Use a pencil or marker to mark the drill points for the mounting brackets. Ensure these points are secure and capable of supporting the lights.
3. **Drill Holes:** Using a drill and the appropriate drill bit, carefully drill holes at the marked points. Take your time to avoid damaging the grille or surrounding areas.
4. **Install Mounting Brackets:** Attach the mounting brackets to the drilled holes using screws. Ensure they are tightened securely to prevent any movement while driving.
Step 3: Wiring the Lights
1. **Run the Wires:** Carefully run the wires from the Raptor lights to the engine compartment. Ensure the wires are secured away from any moving parts or heat sources.
2. **Connect the Wires:** Use wire connectors to connect the Raptor lights to the power source. If you have a switch, make sure to connect it appropriately following the manufacturer’s instructions.
3. **Test the Connection:** Before finalizing the installation, reconnect the battery and test the lights. If they don’t turn on, use a multimeter to check for power along the wiring.
Step 4: Final Adjustments and Securing Wires
1. **Adjust the Lights:** Point the Raptor lights to ensure they illuminate the desired area effectively. This may require a few adjustments after the initial installation.
2. **Secure Loose Wires:** Use zip ties and electrical tape to secure any loose wires and ensure a clean installation. This will help prevent wear and tear over time.
Step 5: Complete the Installation
1. **Recheck All Connections:** Double-check all connections to ensure they are tight and secure. This step is crucial for preventing electrical issues down the line.
2. **Reconnect the Battery:** Once everything is secure and tested, reconnect the battery. Your Raptor lights should now be fully operational.
Common Installation Issues and Troubleshooting
Even with careful preparation, you may encounter some common installation issues. Here are a few tips for troubleshooting:
- Lights Won’t Turn On: Double-check your wiring connections and ensure the switch (if used) is functioning properly. A blown fuse could also be the culprit.
- Lights Flickering: This can often be caused by loose connections. Inspect all wiring and connections to ensure they are secure.
- Uneven Light Output: If the lights are not illuminating evenly, adjust their angle to ensure proper alignment.
Case Studies: Tacoma Owners Share Their Experience
Many Tacoma owners have successfully installed Raptor lights, and their experiences can provide valuable insights:
One owner shared that proper wire management was essential for a clean look. They used zip ties to secure wires along the frame, preventing any tangling or exposure to heat sources. Another owner noted that investing in a higher-quality Raptor light kit significantly improved visibility during nighttime off-roading.
Installing Raptor lights on your Tacoma is a rewarding project that enhances both functionality and aesthetics. By following this step-by-step guide, you can ensure a successful installation that meets your specific needs. Remember to gather the necessary tools, take your time during each step, and troubleshoot any issues that arise. With your new Raptor lights, you’ll enjoy improved visibility and a more aggressive appearance for your Tacoma, making it a true standout on the road or trail.
In summary, the benefits of Raptor lights include improved visibility, enhanced safety, and increased customization options. With careful planning and execution, you can enjoy all these advantages and elevate your Tacoma’s performance and style. Happy installing!